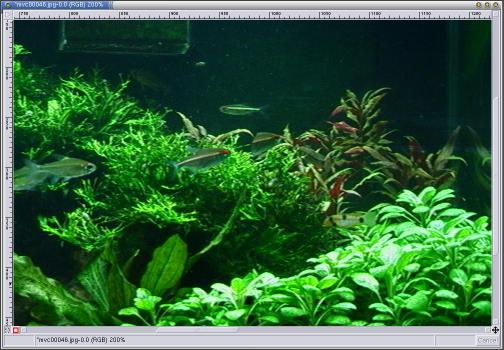
OK, it's March 28th [2002], and I just took my TRV-900 digital video camera downstairs and shot five 640x480 digital stills of my big tank onto its memory card. Normally I shoot slides or negs, but for this demo I shot the equivalent of a 1 megapixel digital camera. Please no comments on how hideous it looks right now... It's kind of a work in progress. And it's about 1/2-2/3 progressed at this point. :)
Here they are (shown at half-size):
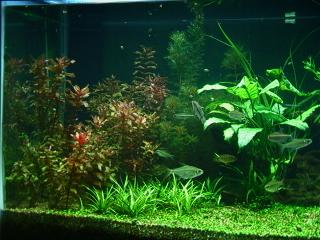
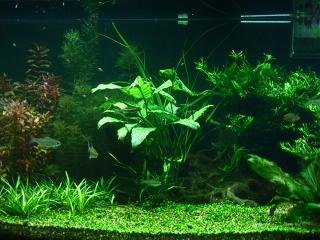
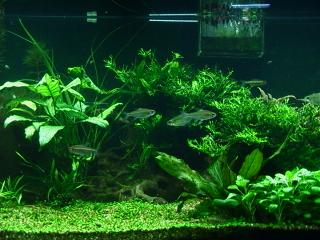
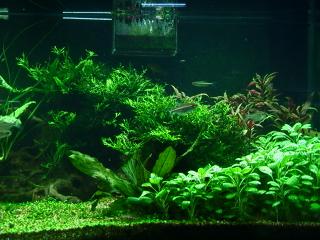
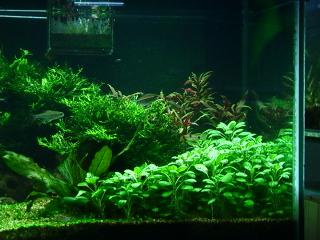
These pictures should have been shot with the exposure on manual, but I forgot. You'll be able to tell this in the final step when I bump up the brightness. I also shot these particular photos on a tripod and rotated the head between shots.
The first thing I do is to open them all in my favorite image editing program, The Gimp. There are virtually identical commands to do this stuff in Photoshop. I like the Gimp because it's free and runs on Linux.
I take the leftmost image, and use the "Image/Canvas size" dialog to make the canvas size much wider and the height a little bit bigger (in this case, 2640x580). The original image is now inset all the way on the left, with the blank "checkered" pattern filling up the rest. I then cut or copy all the other images and paste them into new individual layers on the large canvas original image. Each layer is moved around to roughly line them up relative to each other.
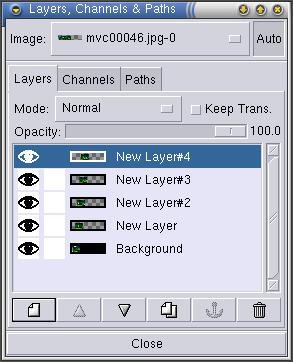 |
Above you can see the rough lineup. To the left is what the layers and channels dialog looks like with all five images lined up. Trust me, these may look OK at half size, but you can see the seams pretty easily. As I suspected, I was overly conservative as to how wide this thing actually needed to be! No problem, we'll crop it out later. |
| OK, now the fun part starts. I hide all the layers but the bottom two (by clicking on the "eye" in each layer). Then I change the second layer's transparancy to be something small enough (30%) that I can see both images where they overlap, like a double exposure. Changing the tool to the "Move" (cross-shaped lugwrench-like tool) and using the arrow keys lets me line up the two images to be perfect in some spot. Now looking at this image, I think the best spot to put the seam would be the dark area between the Rotala macrandra and the Anubias sp., so I will move the 2nd image around so the dark Myriophyllum mattogrense is positioned the same in both images. | 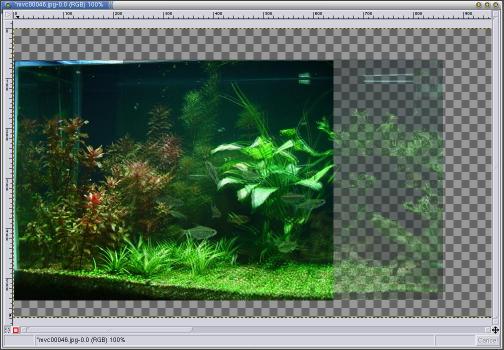 |
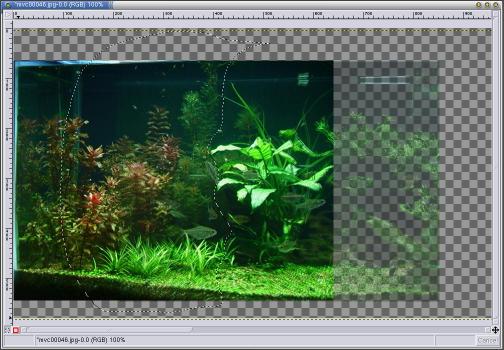 |
I add a layer mask to the second layer, opaque (Show All). Working with the layer mask, I use the freehand selection "lasso" tool to draw a lazy wavy line around the Anubias, down through the Glossostigma where it looks the most similar on both layers, and then all the way around to the left of the second image. This is the area I will be blocking out of the second layer, where the bottom layer will show through. I use the bucket-fill to blacken the mask. |
After changing the opaqueness of the second layer back to 100%, I check at full magnification to be sure that things line up well. I also blur the mask by 5 pixels. Then I move on to the seam between the 2nd and 3rd layer in much the same manner as above. Here's the paths I chose for the other three seams (again, remember, the important part is that right edge in each picture. The left edge just has to go around past the border of the upper photo):
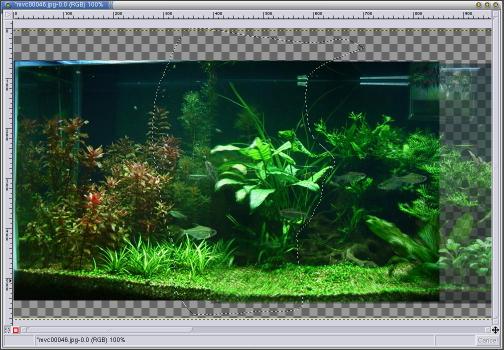
 | OOPS! Here I goofed on this seam, cut one of the fish off halfway. In this case, I need only to use the paintbrush tool set to something large and fuzzy, and "paint out" (or paint in, if I wanted the whole body) the mask around the fish. |
| Here's a thumbnail of what the masks all look like in the Layers dialog. | 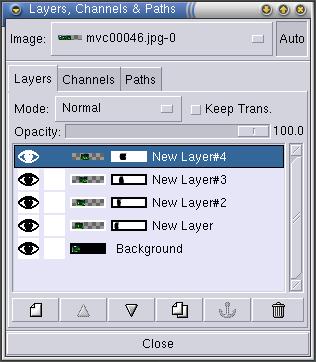 |
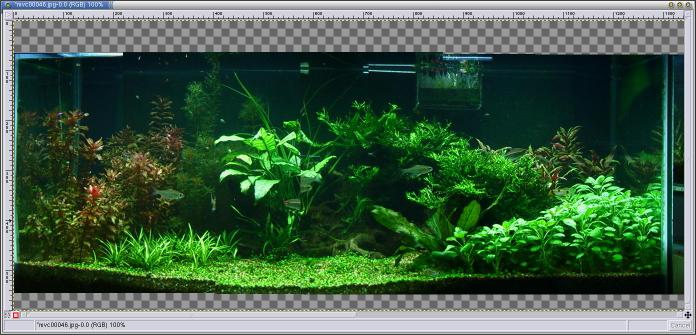
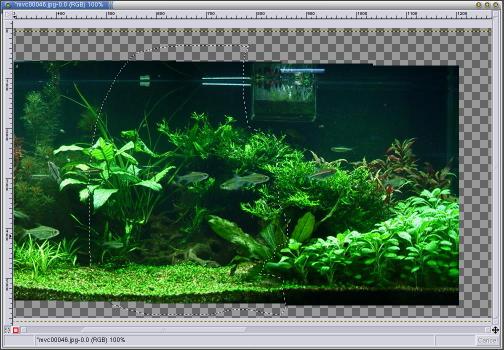
OK, last step, crop the image, Flatten the layers into a single layer, then apply all the appropriate level corrections, and here's the final image, full-size, 1276x462. Nearly suitable for printing 300dpi as a TAG cover photo. And it's now double the original camera's resolution!
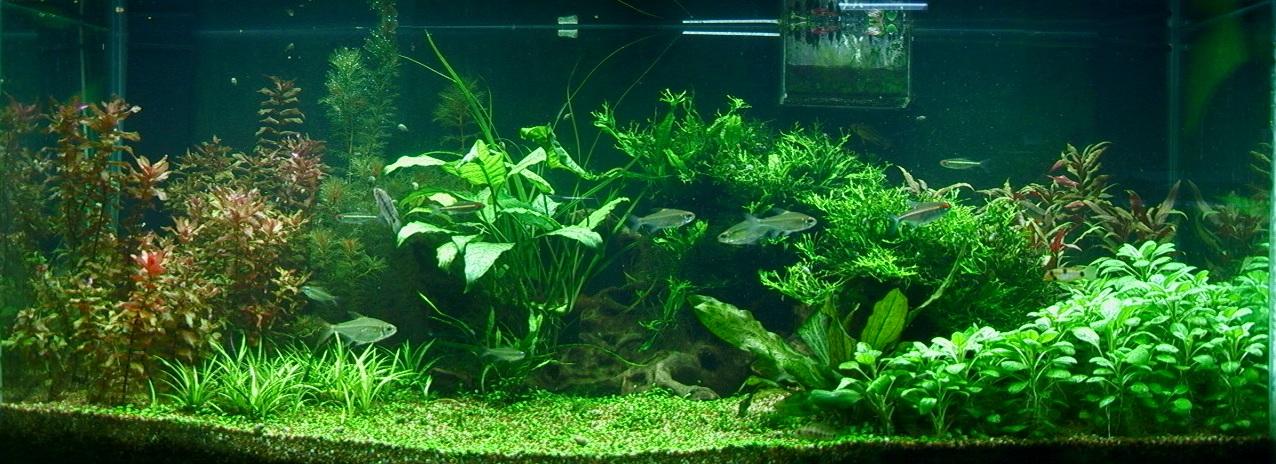
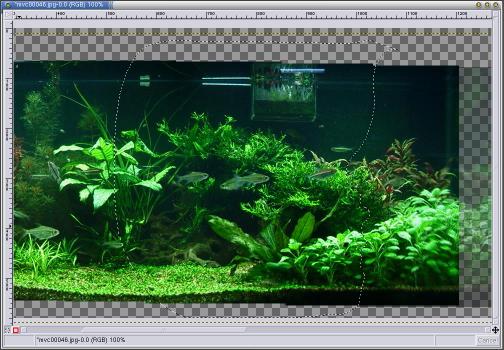
Like I mentioned at the beginning, the photos were not exposed manually. Here's where you'll be able to see this in the dark background areas. If you look closely, you can see the seam where the black doesn't quite look the same from one side to the other. I've deliberately lightened the exposure a bit more than I normally would so you can see it. I would deal with this normally by leaving it darker, or by going back and correcting the individual layers before merging them all.